Make-Ahead Christmas Sides Timeline for Stress-Free Prep
Make-Ahead Christmas Sides Checklist: A Stress-Free Timeline for Holiday Cooking
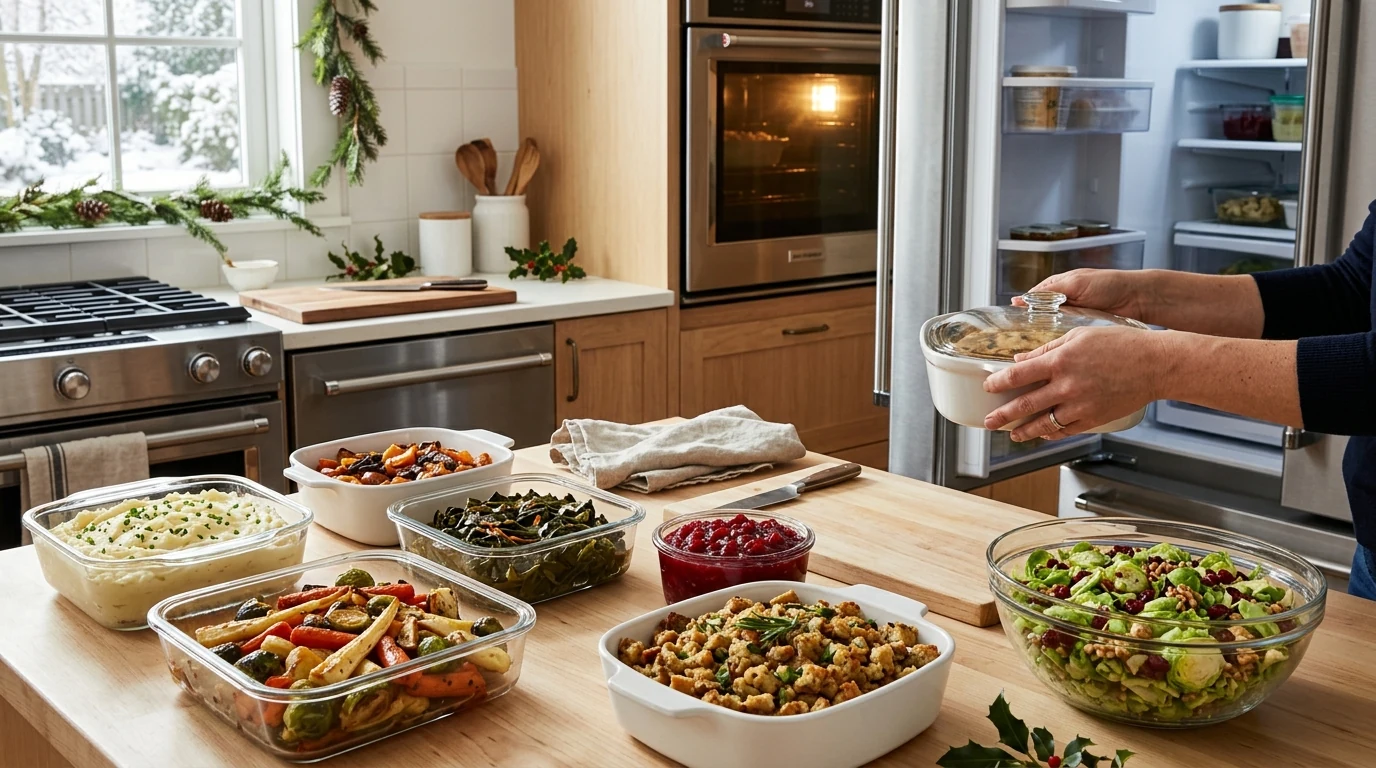
A make-ahead plan turns Christmas dinner from a last-minute scramble into a smooth, timed workflow. This checklist breaks side dishes into what can be prepped weeks ahead, what’s best 1–3 days before, and what should be finished on Christmas Day—plus safe storage, reheating, and a simple schedule that keeps the oven and stovetop under control.
Start With the Right Mix of Sides
A balanced menu is easier to prep ahead because you’re not trying to “do everything hot” at the same time. A reliable framework is: 1 starch, 2 vegetables, 1 salad or fresh element, and 1 sauce or gravy booster.
- Prioritize dishes that hold well: casseroles, roasted root vegetables, braised greens, cranberry sauce, and compound butters tend to reheat without losing their appeal.
- Protect your stovetop space: limit truly last-minute items to one skillet side (like sautéed green beans) and one toss-and-serve fresh side.
- Match textures: pair creamy or rich sides with something crunchy or bright (slaw, shaved Brussels sprouts, green salad, quick-pickled onions).
If you want a ready-to-print organizer you can keep on the fridge, the digital guide The Ultimate Make-Ahead Christmas Sides Checklist – How to Prepare Make-Ahead Christmas Sides for Stress-Free Holiday Cooking is a helpful companion for assigning tasks and tracking reheats.
Make-Ahead Game Plan: What to Do When
Work backward from serving time and decide how each side will be finished: reheat covered, re-crisp uncovered, warm on the stovetop, or serve cold/room temperature. Then batch similar tasks so you only “dirty up” the kitchen once.
- Batch prep: chop onions/celery/garlic at once; par-cook potatoes together; toast nuts and breadcrumbs in a single oven session.
- Label everything: dish name, date, and reheat notes (temperature, covered/uncovered, expected minutes).
- Add a buffer block: reserve 20–30 minutes for oven traffic, stirring, and last-minute adjustments.
Make-Ahead Christmas Sides Timeline (Printable Checklist)
| When | Best tasks | Examples of sides | Storage notes |
|---|---|---|---|
| 2–4 weeks ahead | Freeze components; prep flavor bases | Cranberry sauce (freeze), herb butter, caramelized onions, broth/stock | Freeze flat in labeled bags; cool completely before freezing |
| 7–10 days ahead | Shop pantry + freezer items; test one new recipe | Casserole dry mix, breadcrumb topping, spice blends | Store dry toppings airtight; keep dairy/fresh items for later |
| 3–4 days ahead | Chop/peel; make cold sides; assemble casseroles (unbaked) | Mashed potato base, green bean casserole (assembled), roasted root veg (par-roasted), slaw dressing | Refrigerate in shallow containers; keep toppings separate for crunch |
| 1–2 days ahead | Cook sauces; bake items that reheat well; set serving plan | Gravy base, cranberry relish, dinner rolls (par-baked), glazed carrots (cook then chill) | Cool fast; cover tightly; note reheat temps on lids |
| Christmas Day (2–3 hours before) | Reheat in order; finish crisping; toss fresh items | Reheat casseroles, roast veg to finish, warm sauces, toss salad | Hold warm dishes covered; add fresh herbs and crunchy toppings at the end |
Sides That Reheat Beautifully (and How to Keep Them Tasting Fresh)
The goal is “warm and vivid,” not “hot and tired.” Reheating is less about blasting high heat and more about moisture control.
- Casseroles: reheat covered until warmed through, then uncover for the last 10–15 minutes to restore browning.
- Mashed potatoes: reheat gently with a splash of milk or cream; hold warm in a slow cooker on low, stirring occasionally.
- Roasted vegetables: finish uncovered on a hot sheet pan so the edges re-crisp; avoid overcrowding (crowding = steaming).
- Stuffing/dressing: bake covered first, then uncover to crisp; add a small drizzle of stock if it looks dry.
Cold and Room-Temperature Sides That Reduce Oven Traffic
Not every side needs to compete for burner space. A few cold or room-temp options make the whole meal feel more relaxed—and they often taste better after a night in the fridge.
- Cranberry sauce and relishes: flavors meld and mellow after 24 hours.
- Sturdy salads: shaved Brussels sprouts salad, kale salad, and slaw can be prepped early; dress sturdy greens ahead, but keep delicate greens undressed until serving.
- Bright “cut-through” condiments: pickled onions, quick pickles, and chutneys add acidity that balances rich mains.
- Buffer course idea: a simple antipasto plate can buy you 15 minutes while hot sides finish reheating.
For a fun, low-lift conversation add-on while dishes warm up, How Christmas Evolved Through the Ages | Historical Christmas Guide makes an easy pre-dinner read or printable trivia moment.
Food Safety and Storage Checklist
Make-ahead cooking only works if food stays in a safe zone during cooling, storage, and reheating.
For official guidance, review USDA FSIS leftovers and food safety and the FDA refrigerator & freezer storage chart.
Oven and Stovetop Scheduling for a Smooth Finish
Quick Assembly Templates (Mix-and-Match)
FAQ
How far in advance can Christmas side dishes be made?
Freezer-friendly items like cranberry sauce, stocks, and some casserole components can be made 2–4 weeks ahead, while assembled (but unbaked) casseroles and chopped prep are best 1–3 days ahead. Label containers with dates and keep crunchy toppings separate until the final bake.
What Christmas sides should not be made ahead?
Fried foods, ultra-crispy potatoes, and delicate dressed salads typically lose their texture and turn soggy. A better approach is to prep components ahead (par-cook, pre-chop, pre-toast) and do a quick high-heat finish right before serving.
How do you reheat make-ahead sides without drying them out?
Reheat most dishes covered at moderate heat, then uncover briefly at the end to re-brown or re-crisp. For starches, add a small splash of milk, cream, stock, or butter while warming, and avoid overcrowding pans so food reheats instead of steaming.








Leave a comment